|
Windows控件在Web下的引用,首先我们建立一个window控件,项目名称为EditImagePint,然后,
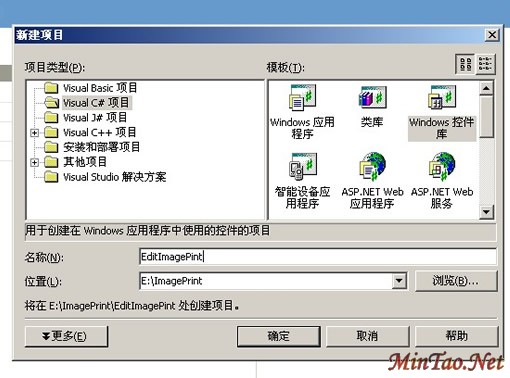
我们把项目下的UserControl1.cs改为ImagePint.cs,切记文件名和构造函数都改!
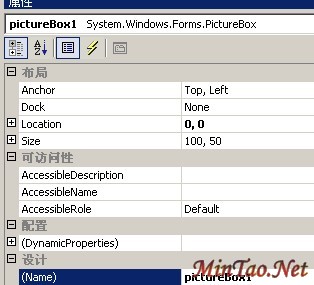
先制作界面,首先在设计模式下,我们将一个PictureBox拖放到解面上,命名为pictureBox1
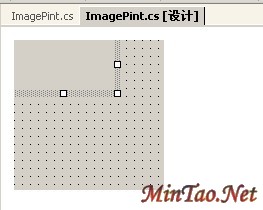
下面我们转入代码页,也就是ImagePint.cs
我们需要引用的对象有:
using System;
using System.Collections;
using System.ComponentModel;
using System.Drawing;
using System.Data;
using System.Windows.Forms;
using System.IO;
using System.Net;
然后我们写一个函数
private void ImagePint_Load(object sender, System.EventArgs e)
{
/*具体代码我们下面介绍*/
}
这个函数,是为了在web页面使用时候加载使用的.
然后我们看控件自己的生成代码,把
this.Load += new System.EventHandler(this.ImagePint_Load);
加如InitializeComponent()中
#region 组件设计器生成的代码:
///
/// 设计器支持所需的方法 - 不要使用代码编辑器
/// 修改此方法的内容。
///
private void InitializeComponent()
{
this.pictureBox1 = new System.Windows.Forms.PictureBox();
this.SuspendLayout();
//
// pictureBox1
//
this.pictureBox1.Location = new System.Drawing.Point(0, 0);
this.pictureBox1.Name = "pictureBox1";
this.pictureBox1.TabIndex = 0;
this.pictureBox1.TabStop = false;
//
// ImagePint
//
this.Controls.Add(this.pictureBox1);
this.Name = "ImagePint";
//看到了吗?很明显,先面的是我们加上去的
this.Load += new System.EventHandler(this.ImagePint_Load);
this.ResumeLayout(false);
}
#endregion
| 


